Paint Correction Basics: How to Strip Away Swirl Marks Without Ruining Your Clear Coat
Written and reviewed by the CarCultureHQ Editorial Team. See our Editorial Policy for sourcing and corrections.
Estimated Reading Time: 9 Minutes
Summary: Swirl marks and spiderweb scratches ruin an otherwise clean car, but jumping straight to aggressive compounding is the fastest way to burn through factory clear coat. In this breakdown of paint correction basics, we share our practical, step-by-step process for evaluating paint depth, selecting the least aggressive pad and compound combination, and safely restoring deep gloss without compromising your vehicle's long-term finish.
Stop Burning Through Your Clear Coat
Walk past almost any car parked in direct sunlight and you will see them: spiderweb rings, fine scratches, and dull haze that make black paint look gray and metallic colors look flat. Most people call them swirl marks. Detailers call them light reflections bouncing off thousands of V-shaped grooves carved into the top layer of your paint.
The knee-jerk reaction for most enthusiast drivers is to buy a heavy cutting compound, slap a coarse foam pad on an old buffer, and run it at top speed across the hood.
That is how you end up with burn marks on body lines, heavy buffer trails, and a clear coat layer stripped down to the primer.
At Car Culture HQ, we look at paint preservation through a practical lens. Paint correction is not about chasing 100 percent perfection at the expense of structural paint health. It is about understanding paint correction basics so you can eliminate light defects, maximize reflection, and keep enough clear coat on the panel so the car survives years of real-world driving.
Join CarCultureHQ
Claim your free digital garage
Build your ride profile, log modifications, join a crew, and get your build in front of thousands of enthusiasts.
Create your free garageThe Reality of Modern Clear Coat
Before touching a machine to paint, you need to know what you are actually working with.
Your vehicle's finish consists of three main layers on top of the bare metal or plastic: primer, base coat (color), and clear coat. That clear coat layer provides the glossy depth, but its most critical job is UV protection. It stops the sun from oxidizing the color underneath.
Here is the sobering reality: factory clear coat on modern production cars measures between 35 and 50 microns thick on average. That is roughly the thickness of a single post-it note.
If you strip away more than 25 percent of that clear coat through over-aggressive compounding, you compromise its ability to block UV rays. Two years later, the paint begins to cloud, crack, and fail completely. Paint correction is always a balancing act between defect removal and paint preservation.
Comparing Polishing Equipment and Pads
Choosing the right tool determines both how fast you work and how much safety margin you have on delicate body lines.
Tool / Pad Type | Risk Level | Defect Removal Speed | Ideal Use Case |
Dual Action (DA) Polisher | Very Low | Moderate | Safe for beginners, soft clear coats, and daily drivers |
Direct-Drive Rotary Buffer | High | Fast | Professional heavy defect removal; easy to burn edges |
Microfiber Cutting Pad | Moderate | High | Deep swirl marks, hard German clear coats |
Medium Foam Polishing Pad | Low | Moderate | Light swirls, haze removal, general paint correction |
Soft Foam Finishing Pad | Very Low | Low | Applying fine polishes, maximizing final gloss |
Step 1: Preparation Is Non-Negotiable
You cannot polish dirty paint. If a single grain of sand gets caught under your polishing pad while spinning at 4,000 RPM, you will carve deep pigtail gouges across the entire panel in seconds.
The Prep Protocol
Thorough Wash: Strip old waxes and road grime using a dedicated wax-stripping automotive soap.
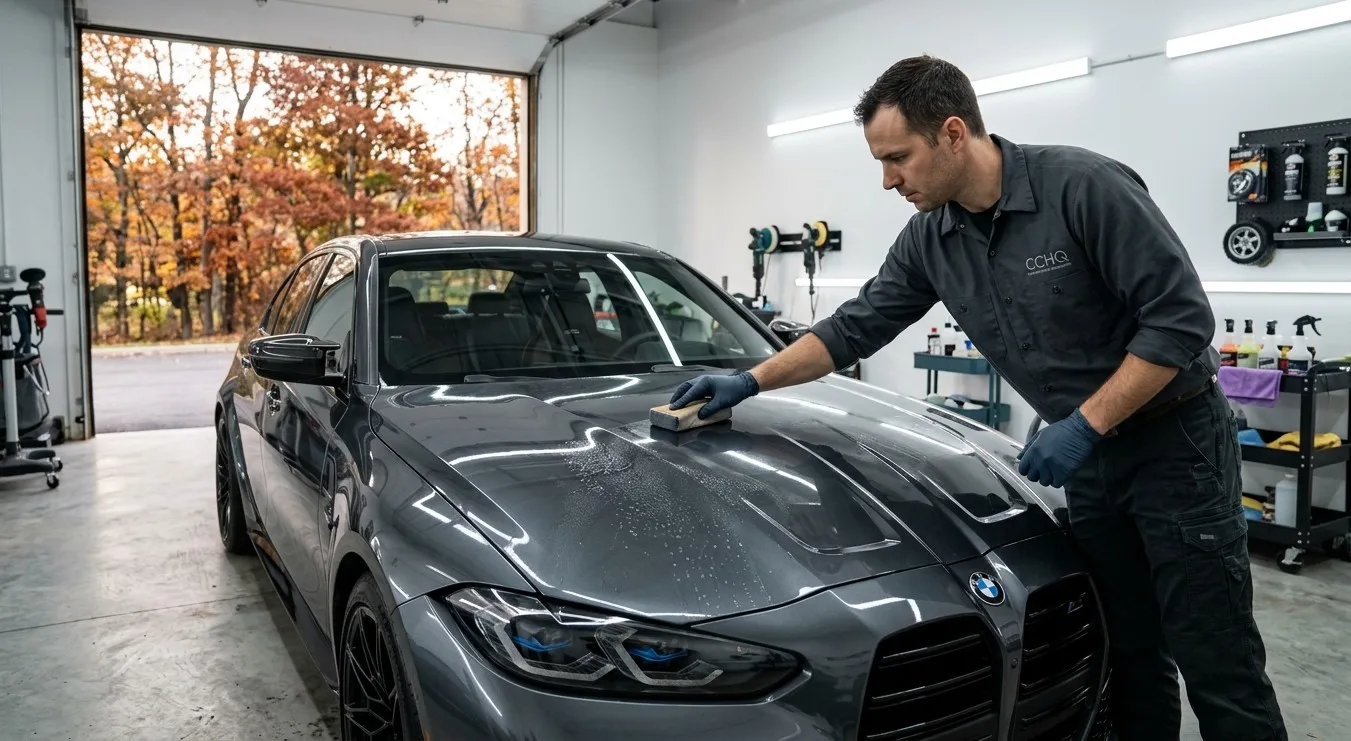
Chemical Decontamination: Spray an iron remover across the lower body panels and wheels to dissolve embedded brake dust particles that regular washing leaves behind.
Mechanical Claying: Run a lubricated clay bar or clay towel over the paint until the panel feels smooth as glass under your fingertips.
Panel Drying and Inspection: Dry the car using clean microfiber towels and set up dedicated point-source lighting (such as an LED inspection torch) to view the true condition of the surface.
Step 2: The Test Spot Method
Never commit to a single pad and liquid combination across an entire vehicle without running a test spot first. Paint hardness varies wildly between manufacturers. Japanese cars like Honda and Subaru typically feature softer clear coats that correct easily but mar quickly. German cars like BMW and Audi often feature extremely hard clear coats that require firmer pads.
How to Run a Test Spot
Tape off a 2x2 foot section on the hood or a flat side panel using blue painter's tape.
Start with your least aggressive combination: a medium foam polishing pad paired with a fine finishing polish.
Apply 3 to 4 pea-sized drops of liquid onto the pad face and spread it evenly over the section with the machine off.
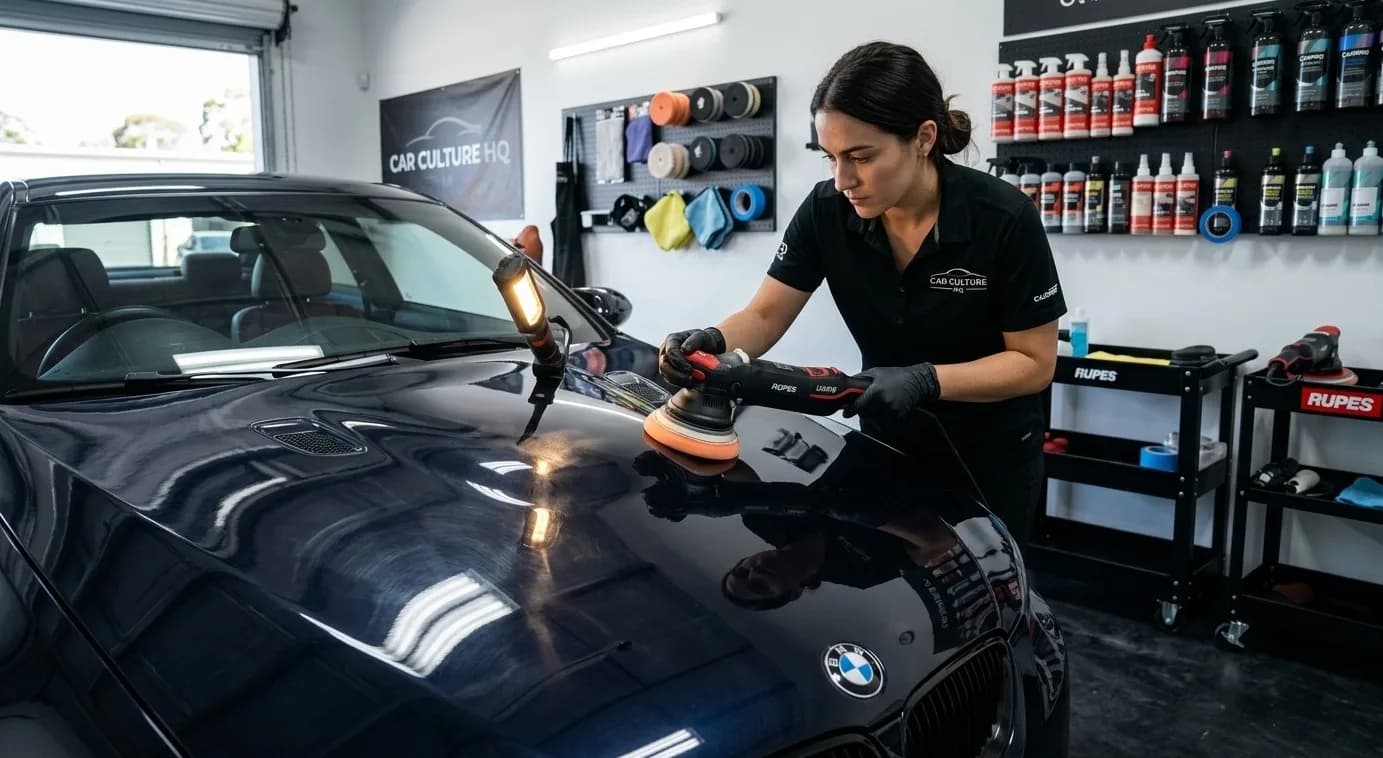
Set your DA polisher to medium speed (speed 4 on most dials). Work in slow, overlapping passes: four horizontal passes followed by four vertical passes, using light arm pressure.
Wipe the area clean with a fresh microfiber towel and a 50/50 water and isopropyl alcohol mix to remove polishing oils.
Inspect under your LED light. If 80 percent of the swirl marks are gone and the finish is clear, that is your working combination for the rest of the car. If heavy swirls remain, step up to a slightly firmer pad or a slightly stronger compound and repeat the test process on an adjacent square.
Step 3: Executing the Correction Process
Once your test spot confirms the ideal pad and compound pairing, work your way around the vehicle systematically.
Key Techniques During Correction
Control Your Speed: Keep arm movement slow. Moving the machine across the panel at a rate of one inch per second allows the abrasive particles in the compound time to break down defects cleanly.
Keep the Pad Flat: Tilting the pad concentrates heat on a tiny edge, which burns through clear coat on body ridges. Keep the entire pad face flush against the panel.
Clean Your Pad Frequently: Compressed air or a pad conditioning brush should be used after every single working section to blow out spent compound and clear coat dust. A clogged pad stops cutting and starts scouring the paint.
Respect Body Lines and Plastic Trim: Tape off rubber trim, plastic badges, and sharp body creases using painter's tape. Body lines have thinner clear coat than flat center panels.
Measuring Your Results: When to Stop
The most common trap in paint correction is chasing the last 5 percent of defects. Deep scratches that penetrate down toward the base coat cannot be safely buffed out without thinning the clear coat to a dangerous level.
If a scratch catches your fingernail, polishing will not remove it completely. The goal of sensible paint correction is to round off the sharp top edges of that scratch so light no longer catches it, making it far less noticeable while leaving safe clear coat thickness behind.
After completing correction across all panels, protect your hard work immediately. Freshly polished clear coat has zero protection against UV rays, bird droppings, or water spots. Apply a durable synthetic paint sealant or a multi-year ceramic coating to lock in the depth and clarity you just created.
Join CarCultureHQ
Claim your free digital garage
Build your ride profile, log modifications, join a crew, and get your build in front of thousands of enthusiasts.
Create your free garageFrequently asked questions
Will paint correction remove all scratches from my car?
Paint correction easily removes shallow swirl marks, wash marring, and light towel scratches residing in the upper layer of the clear coat. However, deep scratches that go down through the clear coat into the base color coat cannot be buffed out completely without repainting the panel.
What is the difference between paint correction and waxing?
Waxing simply lays down a temporary layer of wax or silicone over defects to mask them briefly, lasting a few weeks to months. Paint correction physically levels the clear coat using fine abrasives to permanently eliminate scratches and restore original optical reflection.
How often should a car undergo paint correction?
Because paint correction removes a thin layer of clear coat each time, a full machine correction process should only be performed once or twice during a vehicle's lifespan. Maintaining proper wash techniques afterward prevents new swirl marks from forming.
Can a beginner perform paint correction safely at home?
Yes, provided you use a modern Dual Action (DA) orbital polisher, proper foam pads, light polishes, and patience. Avoid high-speed direct-drive rotary buffers, which generate intense friction heat and easily burn through clear coat edges in inexperienced hands.
Comments
Join the conversation on Paint Correction Basics: How to Strip Away Swirl Marks Without Ruining Your Clear Coat. Keep it civil — admins moderate reports.
Loading comments…